Showing posts with label Home Decor. Show all posts

Tuesday, March 29, 2011

She Loves Green!

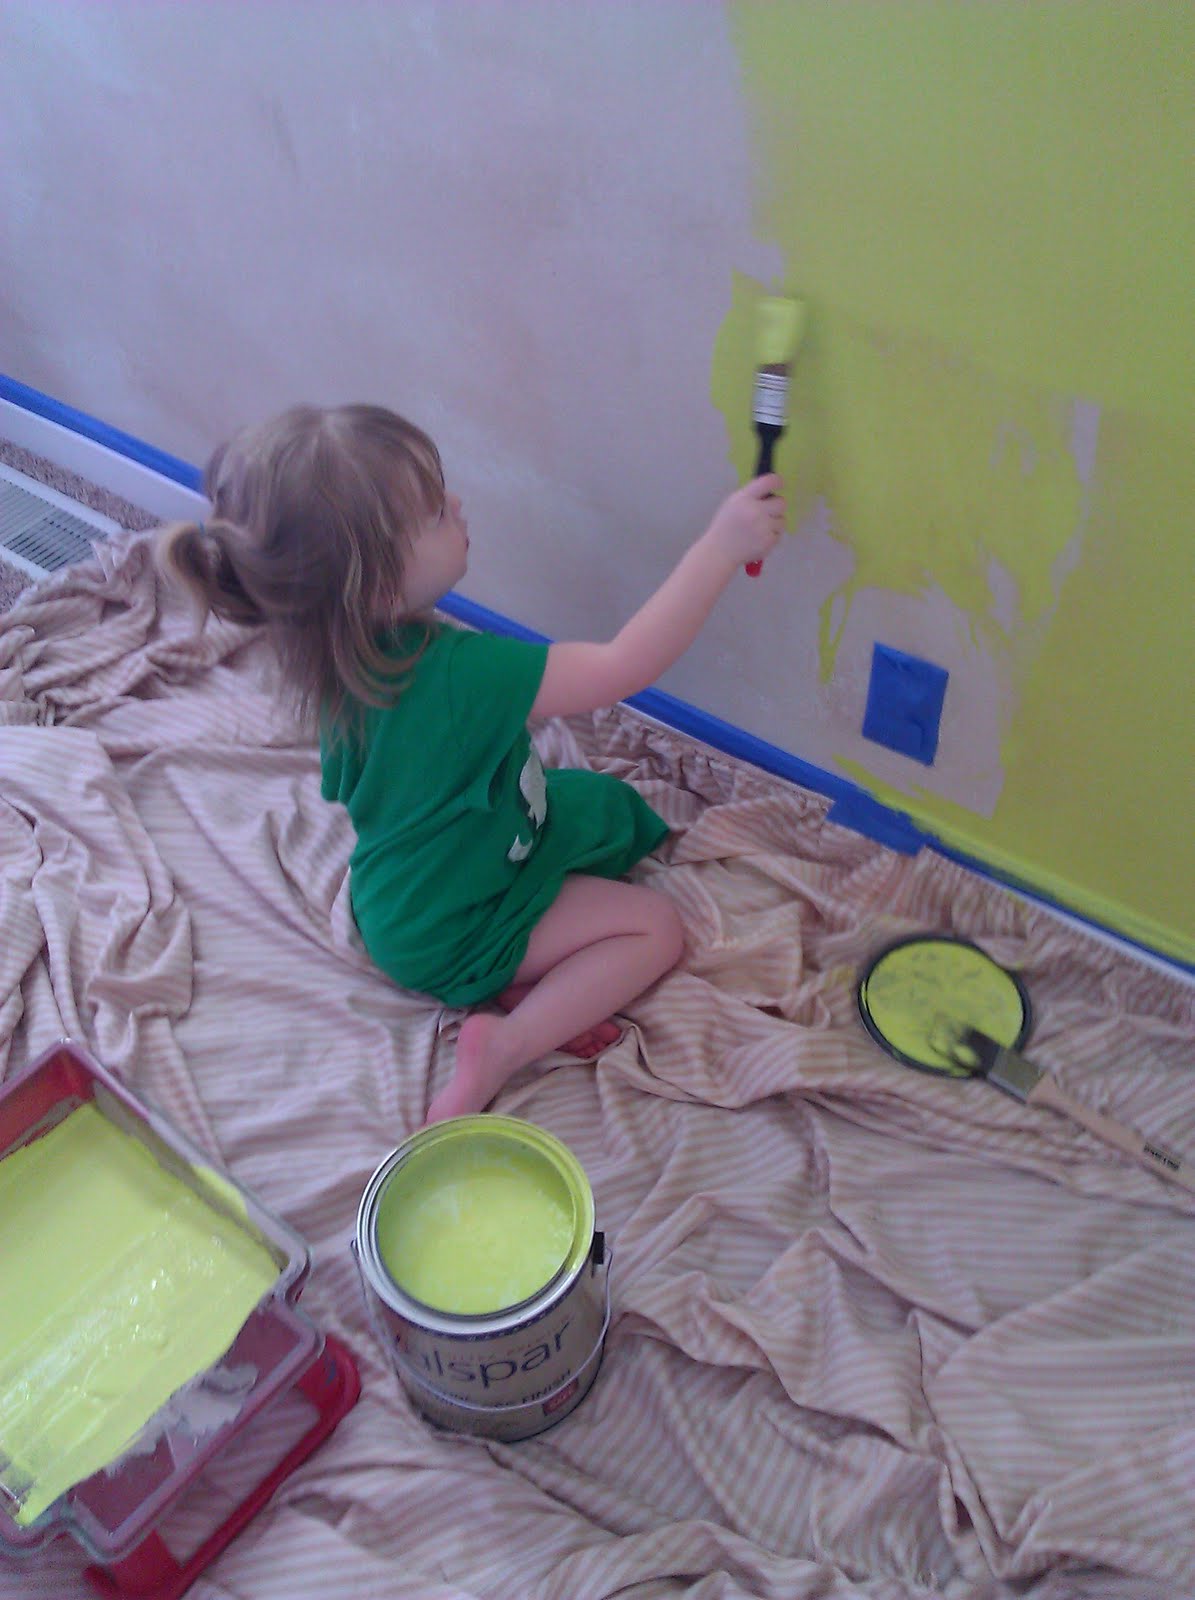
Since moving into our home two years ago, I have changed my daughters room three times. Our current color palatte...neon green and turquoise. This is what Miss H's room looked like before...


Here is the during process...


and this is the new room with a few things left to do.


I wasn't too sure how it would turn out but I just went with what the adorable three-year old chose and I must say she has some fun taste. Nice choice baby girl...
Amanda

Saturday, March 12, 2011

Decor on a Dollar!

From Boring...

To Bam!

What were the chances of finding a decal for this spot at the Dollar Tree that actually matches the color palette of the room? I am doing some big changes in the kitchen and dining area, but the process is lengthy and I am so tired of the BLAH look. So $1 added some color and a great message.

Happy Weekend!
~jan

Monday, December 13, 2010

Nativity

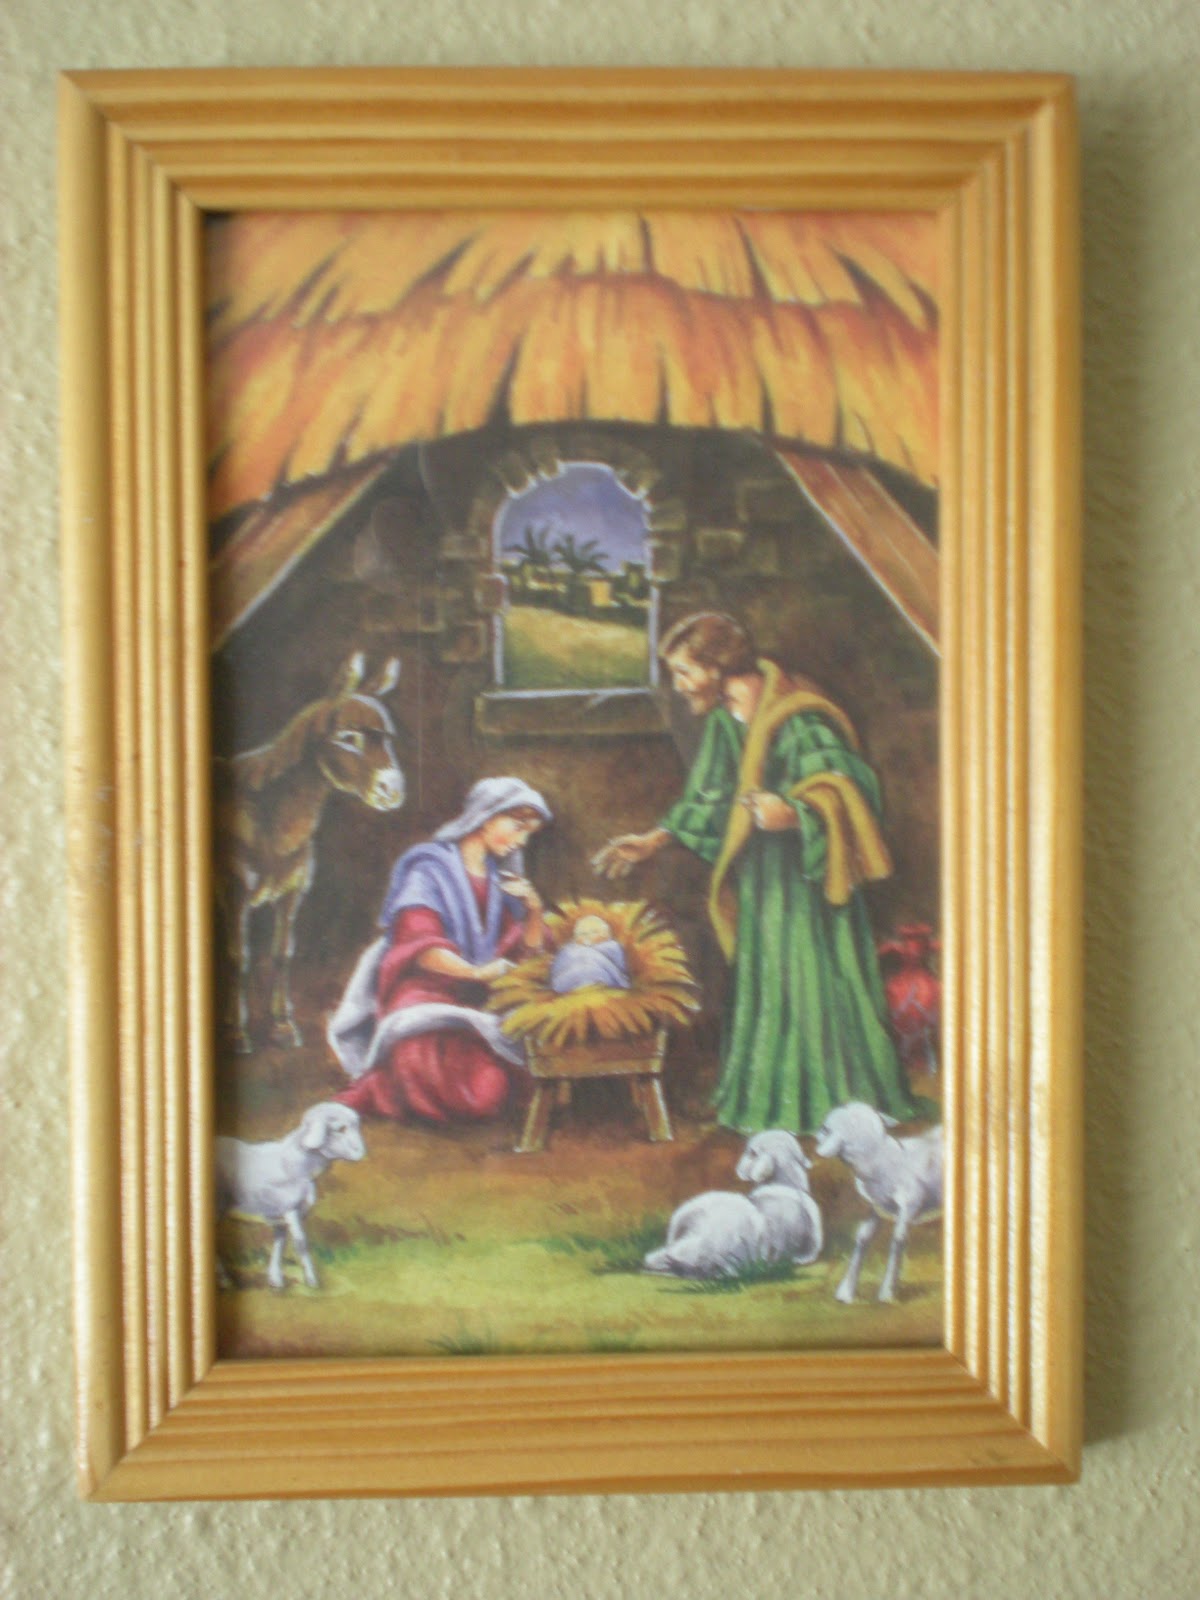
Ever since I have had kids, the Nativity has become my very favorite Christmas decoration. 

It is kind of hard to to keep figurines and statues in the house with small children. I kind of like to keep Christmas {kid-friendly}. I have a small porcelain Nativity set which goes way up high, and a small resin one that I leave low so the kids can play with it. 

The way I display the Nativity is this: I replace every family picture in our home with a Nativity picture during the month of December. Some are pictures I have bought, some were gifts, others have been clipped from magazines, some came as Christmas cards. The other eleven months of the year, I store the Nativity pictures behind the pictures of our family.


This has been a fun way to emphasize Christ as the center of Christmas for our family. 


<3 AmberLou

Tuesday, November 30, 2010

Painted Christmas Project

I found this adorable sign at Deseret Book that matched my Christmas decor PERFECTLY.


 However, I am too cheap to spend 30 dollars on myself at this gift giving time of year.
So, to put my {wanter} to rest, I made my own version using acrylic paint {it dries faster} and some canvas that I had laying around the house. I also used my cricut to cut out my letters.
This is the end result:

I decided that I wanted it to show more green color since I have a lot of red in other decor already. 
I took a paintbrush and started smearing the paint around. No perfection here! and when I had the border about straight I let it dry for about an hour...just to be sure it wasn't going to smear.
then {using the lid off a condiment in the fridge} I dipped the lid in the paint and used it like a stamp to get the circles in the border....then let it dry again.
I cut the saying out of paper with my cricut and mod podged it on.
It took me 30 minutes of painting and a couple hours of dry time. 
Wallah!!! 
Easy homemade decor that didnt cost me a dime:]
-Amanda

I linked to these parties:

Visit thecsiproject.com

The Girl Creative


Monday, November 22, 2010

Inspired by Others #4

This is more of a blatant rip-off than an "inspired-by", but I love, love, {love} the way Suzanne at Just Another Hang Up displays her grandkids' artwork!


So I made one. 


Instead of cork, I used sheet metal under fabric so I can attach my little guy's art with magnets, except on this one...


I halved wine corks and hot glued them to the frame backing (painted to match the frame) so I do have one spot that is {thumbtack-able}

I hung the frames low enough (and with magnets) so my 4-year old can hang his artwork and preschool work by himself.


My current favorite piece of art is the second from the right, which the artist has named "A Flashlight and the Dark". Budding {genius}

<3 AmberLou


sharing at a few of these parties

Monday, November 15, 2010

My Beautiful Bathroom

I love our new bathroom. Want to see some before/afters?

Before


We replaced the oddly installed Formica counter top with lovely tile. Framed the mirror, and replaced the light fixture, sink and faucet


Before


Retextured the entire room and painted it a gray/blue. Replaced the window. The floor was Pergo (in a bathroom? really?) so we tiled it.


Before


Replaced the door.


Before


Ripped out the tiny fiberglass tub and shower surround, replaced with an extra deep tub, and tiled the surround. We did a river-rock inset pattern that turned out lovely!


Before


Stripped, sanded stained and varnished the built-in and the vanity. We also put some river rock on the floor and as a baseboard. I love the end result!


<3 AmberLou


Update : I had a few questions about how we did the river rock inset, so just a quick summary... 


I freehanded the shape of the inset, then tiled from the top of the tub to the bottom line of the inset. (A tile saw was very handy for making the odd cuts) 


Then I started the next level of tile above the inset. I drove two nails beneath the new line of tiles to support them, since they were basically hanging in thin air. I let the whole mess set overnight and then finished tiling the top half of the surround. 


The river rock came from Home Depot ($4.99 for 20 lbs, vs. $14+ per square foot for river rock glued to mesh) I sorted out the flat rocks and kept the bigger ones for my garden. I troweled on a thick layer of thin-set, and stuck the rocks in and let them dry, then grouted around them. 


I'm sorry I didn't take any pictures! I started this bathroom before I was blogging, and I didn't think I'd ever want pics! 


this is my entry for 
Visit thecsiproject.com
beautiful bathrooms contest

sharing at some of these parties

Friday, November 5, 2010

Paisley Cupcake Wordle

Wordles are "word clouds” created from text that you provide to wordle.net. The clouds give greater prominence to words that appear more frequently in the source text. Here is a wordle created from our blog


I'm thinking of using this fun tool to make gifts similar to Jan's Monogrammed Wall Art. You could type in (or find online, if it's available) a chapter of a favorite book - here is some of Dickens' A Christmas Carol


Or a favorite poem or song lyric... Here's the hymn "How Great Thou Art"

I'm planning on making a work related one for a former co-worker.


The Wordle tool is great... you can customize the font, the colors and the general shape of the cloud. Or you can hit the "randomize" button and see what comes out.

If you're a word-lover like I am, you'll love this site!

Lorie


Thursday, October 21, 2010

Hang It Up!

I have a serious problem....I always misplace my keys and jewelry. 
They end up in the bottom of my bottomless purse or rolling around in some drawer and I. have. had. it!

I saw this project and was inspired to hang it all up! {geez, why didnt I think of this?} 
Its sooo easy to make your own, so give it a try. Nicholette gives great instructions on how to do so:]
Thanks Craft Envy for the idea!!!


{I obviously haven't hung it all up yet, but Im getting there!} 
Have a fantastic Thursday!
-Amanda

Monday, October 18, 2010

I Was Framed!

I <3 mirrors. 

Not that I am especially {foxy}, but I love the way they brighten spaces, and I especially love having mirrors close to the floor so my kids can see themselves without getting Mom or Dad to pick them up and hold them to a mirror!

This is the mirror that has served that purpose in my house since we moved in


kinda plain. You know what would make it super high-impact?

A frame!

I went to Home Depot and bought 2 8' sticks of trim, and 2 8' sticks of rectangular wood (this wood doesn't appear to have a name. This is the label...)


It is simply a rectangular stick 1" x 1/2". 


(Baby girl plays with wood stake, ready to drive it into the {heart} of any vampires who try to sweet-talk her!)

I measured the mirror, it was 22 x 68. I cut the wood to fit around the border and mitered the ends. Then I painted the outside edge all around ('cause it will show!) and used the nail gun to attach it on all four sides. 


(like my hairy wrists? I actually fear nailguns more than I fear the oven, so Herr Handsome did this part)

Then I measured the outside corners to determine how long the trim pieces should be. Hubby cut and I painted the wood, and then he nailed it up.

(Make sure you paint both sides of the trim, since the back side will be reflected in the mirror, and if it is plain, unpainted wood, it will look cruddy!)


here the mirror is framed on 4 sides with wood and one side with the trim

Once the trim was all hung, I filled the nail holes with spackle, then sanded it a tiny bit to smooth it out, and painted over the holes. 


Finished! It looks like I hung a lovely framed mirror! 


And my kiddies like it too!

<3 AmberLou