


I love this bench I made with my husband. Love, love, love, love it!


Step 1:
Take your chainsaw out into the forest and cut down a {dead} tree. Or two. (You probably need a permit) Really.
(And yes, I used the chainsaw! We have a little pact: he taught me to use the chainsaw; I'm teaching him to sew!)
(And yes, I used the chainsaw! We have a little pact: he taught me to use the chainsaw; I'm teaching him to sew!)
(You can also buy logs from a logging company, which is where we got the logs for the legs and plank for the seat.)
Skip peel the logs with a draw knife, removing all of the rough exterior bark and leaving some of the inner bark - however much you think looks cool. (To me, less bark is definitely more!)
 (skip peeling)
(Yes, I know I am not wearing proper PPE, but I don't love shoes.)
Skip peel the logs with a draw knife, removing all of the rough exterior bark and leaving some of the inner bark - however much you think looks cool. (To me, less bark is definitely more!)

(Yes, I know I am not wearing proper PPE, but I don't love shoes.)
Step 2:
Prepare the base of the bench for assembly. The plank for the seat is 18"x 48"x 3". We drilled holes 3" in from each corner for the legs with a 1.25" forsner bit, cut the legs 20" and cut the tops with a 1.25" tenon cutter to fit in the drilled holes.
 (tenoning the legs)
Then cut the bracing, tenoned the ends and fit them to the legs.

Then cut the bracing, tenoned the ends and fit them to the legs.

Forsner bit:

Tenon cutter:

(It's like a great big {pencil} sharpener for your drill! You can get forsner bits and tenon cutters from Rockler)
(When working with logs, you have to do a lot of eyeballing and guesstimating. It is hard for me to do this, since I am usually an OCD perfectionist freak, but since no two logs are the same, I have to let go!)
Step 3:

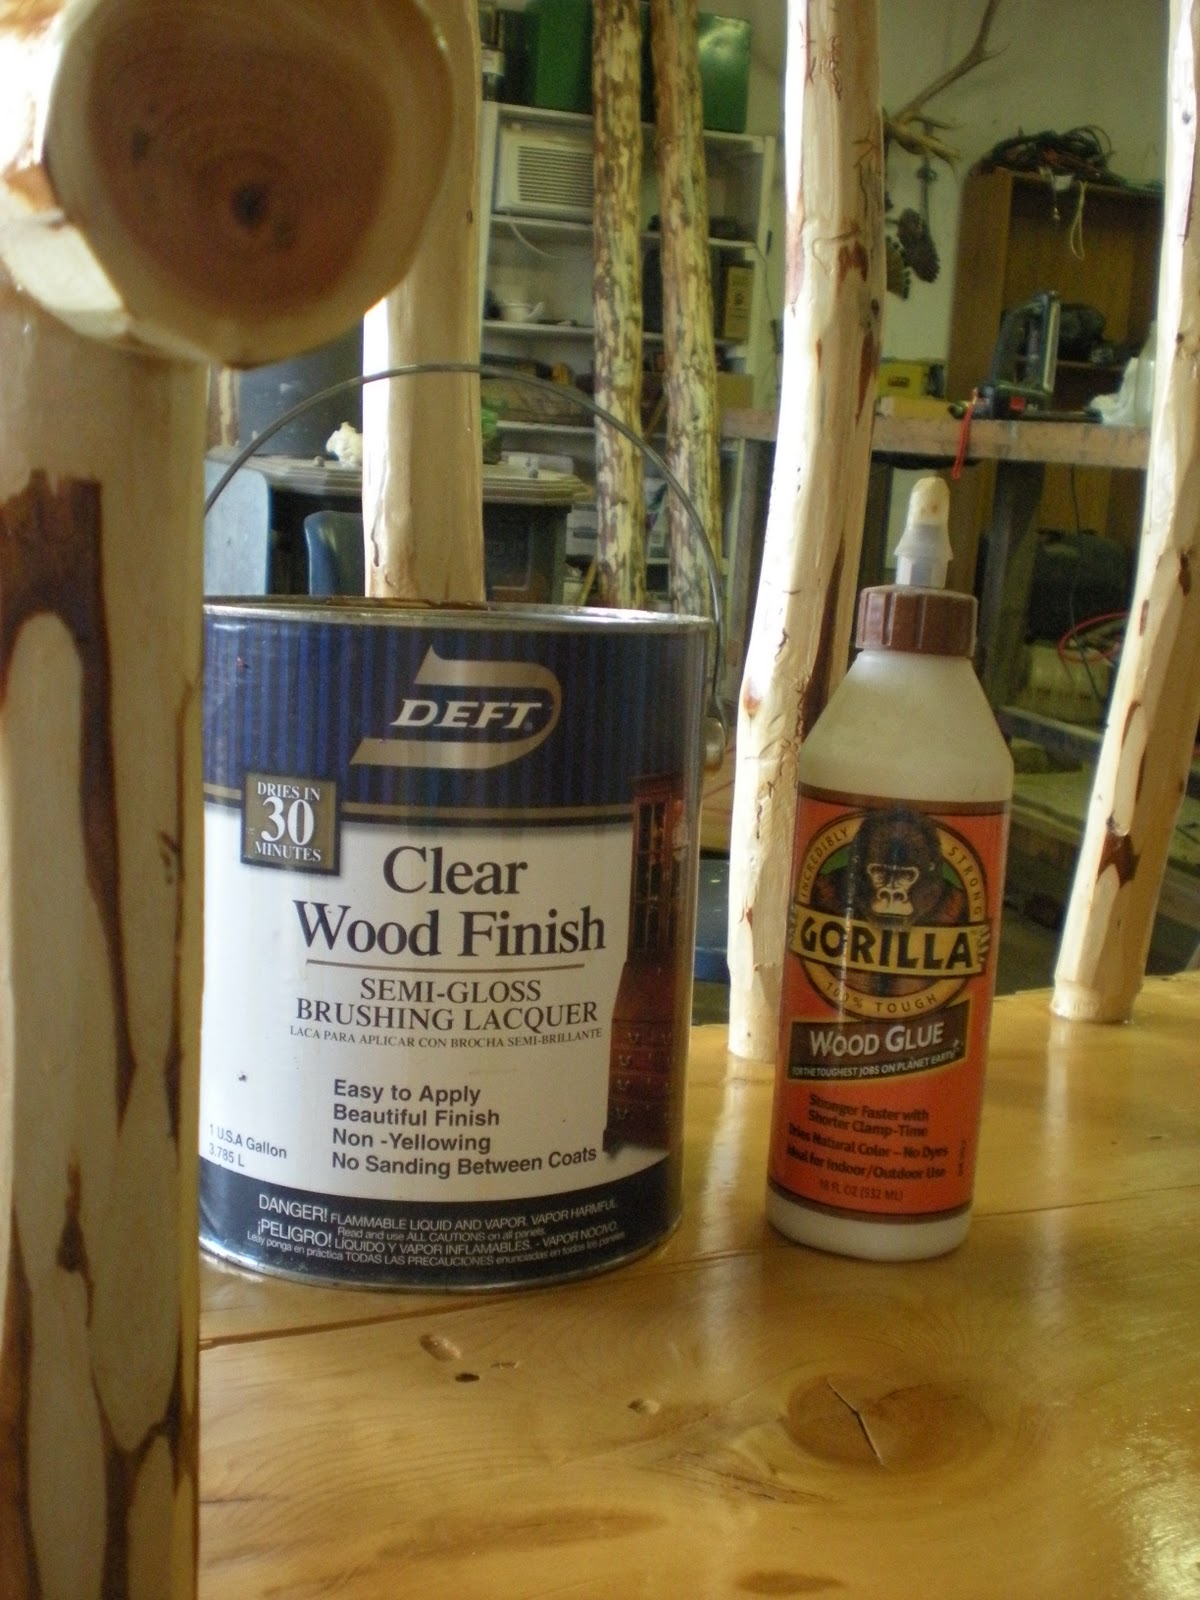
Assemble the base. I counter-sank lag screws to hold the legs securely to the seat, then he attached all the other joints with Gorilla Wood Glue.
Let dry overnight!
Step 4:
We found an awesome curved limb to use for the top of the back.
We found an awesome curved limb to use for the top of the back.

The end pieces were tenoned extra long to fit through the top, and the 5 spindles and the arms were cut to fit.

We glued it all together with Gorilla Wood Glue, (hurry! the moisture from the glue makes the wood expand slightly, and with this project, we had very {little} wiggle room! oh, and you totally need a craft spotter for this step! It is a two-person job!)
Then I made plugs from a scrap piece of log to cover the lag screws using a hole saw, and glued them in place. Because we used the same wood, it will be virtually {invisible} once it is sanded down.

Hole saw:

Let dry overnight! (again)
Step 5:
Sand. Sand some more. Keep sanding! (Including the plugs. Sand them down level with the seat)

Step 6:
Apply several coats of finish. We used Deft Clear Wood Finish over the whole bench; applying several coats allover, and twice as many as that on the seat.


UPDATE (P.S)
I have had bunches of emails asking for more information on the tools used for this project. So I feel I must add a disclaimer: I don't own these tools! They are quite expensive, so I borrowed them from my FIL. I also called around, and you can rent tenon cutters, forsner bits and the like from most all-purpose rental places. (You know the kind, they rent everything from chainsaws to nacho-cheese fountains) The one in my town rents them for less than $10 per day. So if you're interested in making this project, or one like it, look into that before you put out a lot on $$ for tools you may not use that often!
P.S. again - my bench made the Top 10 on the DIY Club (So exciting!) and a guy emailed me wanting to buy it... *giggle*!
<3 AmberLou

Step 7:
Stick your beautiful bench in your garden and enjoy the last few days of {fall}!

UPDATE (P.S)
I have had bunches of emails asking for more information on the tools used for this project. So I feel I must add a disclaimer: I don't own these tools! They are quite expensive, so I borrowed them from my FIL. I also called around, and you can rent tenon cutters, forsner bits and the like from most all-purpose rental places. (You know the kind, they rent everything from chainsaws to nacho-cheese fountains) The one in my town rents them for less than $10 per day. So if you're interested in making this project, or one like it, look into that before you put out a lot on $$ for tools you may not use that often!
P.S. again - my bench made the Top 10 on the DIY Club (So exciting!) and a guy emailed me wanting to buy it... *giggle*!


and I will be sharing at some of these parties


