


I love this bench I made with my husband. Love, love, love, love it!


Step 1:
Take your chainsaw out into the forest and cut down a {dead} tree. Or two. (You probably need a permit) Really.
(And yes, I used the chainsaw! We have a little pact: he taught me to use the chainsaw; I'm teaching him to sew!)
(And yes, I used the chainsaw! We have a little pact: he taught me to use the chainsaw; I'm teaching him to sew!)
(You can also buy logs from a logging company, which is where we got the logs for the legs and plank for the seat.)
Skip peel the logs with a draw knife, removing all of the rough exterior bark and leaving some of the inner bark - however much you think looks cool. (To me, less bark is definitely more!)
 (skip peeling)
(Yes, I know I am not wearing proper PPE, but I don't love shoes.)
Skip peel the logs with a draw knife, removing all of the rough exterior bark and leaving some of the inner bark - however much you think looks cool. (To me, less bark is definitely more!)

(Yes, I know I am not wearing proper PPE, but I don't love shoes.)
Step 2:
Prepare the base of the bench for assembly. The plank for the seat is 18"x 48"x 3". We drilled holes 3" in from each corner for the legs with a 1.25" forsner bit, cut the legs 20" and cut the tops with a 1.25" tenon cutter to fit in the drilled holes.
 (tenoning the legs)
Then cut the bracing, tenoned the ends and fit them to the legs.

Then cut the bracing, tenoned the ends and fit them to the legs.

Forsner bit:

Tenon cutter:

(It's like a great big {pencil} sharpener for your drill! You can get forsner bits and tenon cutters from Rockler)
(When working with logs, you have to do a lot of eyeballing and guesstimating. It is hard for me to do this, since I am usually an OCD perfectionist freak, but since no two logs are the same, I have to let go!)
Step 3:

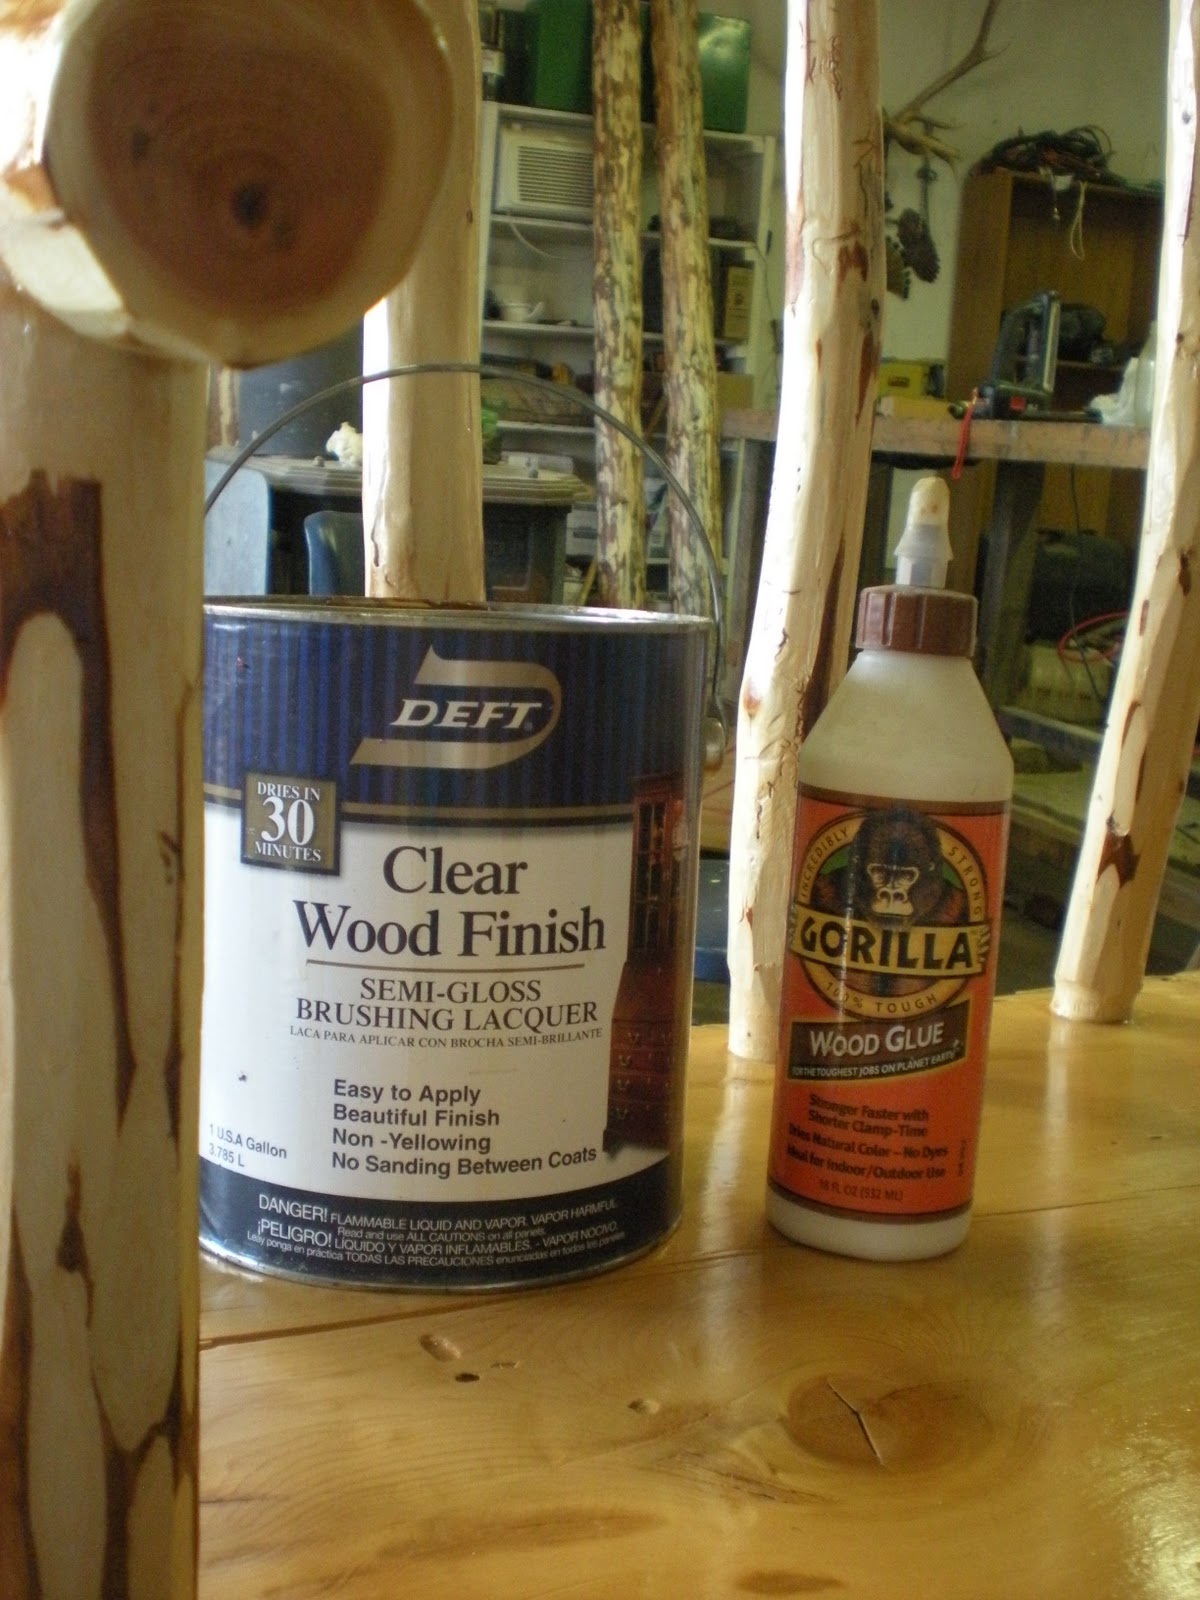
Assemble the base. I counter-sank lag screws to hold the legs securely to the seat, then he attached all the other joints with Gorilla Wood Glue.
Let dry overnight!
Step 4:
We found an awesome curved limb to use for the top of the back.
We found an awesome curved limb to use for the top of the back.

The end pieces were tenoned extra long to fit through the top, and the 5 spindles and the arms were cut to fit.

We glued it all together with Gorilla Wood Glue, (hurry! the moisture from the glue makes the wood expand slightly, and with this project, we had very {little} wiggle room! oh, and you totally need a craft spotter for this step! It is a two-person job!)
Then I made plugs from a scrap piece of log to cover the lag screws using a hole saw, and glued them in place. Because we used the same wood, it will be virtually {invisible} once it is sanded down.

Hole saw:

Let dry overnight! (again)
Step 5:
Sand. Sand some more. Keep sanding! (Including the plugs. Sand them down level with the seat)

Step 6:
Apply several coats of finish. We used Deft Clear Wood Finish over the whole bench; applying several coats allover, and twice as many as that on the seat.


UPDATE (P.S)
I have had bunches of emails asking for more information on the tools used for this project. So I feel I must add a disclaimer: I don't own these tools! They are quite expensive, so I borrowed them from my FIL. I also called around, and you can rent tenon cutters, forsner bits and the like from most all-purpose rental places. (You know the kind, they rent everything from chainsaws to nacho-cheese fountains) The one in my town rents them for less than $10 per day. So if you're interested in making this project, or one like it, look into that before you put out a lot on $$ for tools you may not use that often!
P.S. again - my bench made the Top 10 on the DIY Club (So exciting!) and a guy emailed me wanting to buy it... *giggle*!
<3 AmberLou

Step 7:
Stick your beautiful bench in your garden and enjoy the last few days of {fall}!

UPDATE (P.S)
I have had bunches of emails asking for more information on the tools used for this project. So I feel I must add a disclaimer: I don't own these tools! They are quite expensive, so I borrowed them from my FIL. I also called around, and you can rent tenon cutters, forsner bits and the like from most all-purpose rental places. (You know the kind, they rent everything from chainsaws to nacho-cheese fountains) The one in my town rents them for less than $10 per day. So if you're interested in making this project, or one like it, look into that before you put out a lot on $$ for tools you may not use that often!
P.S. again - my bench made the Top 10 on the DIY Club (So exciting!) and a guy emailed me wanting to buy it... *giggle*!


and I will be sharing at some of these parties


WOW...I loved this post...As a DIYer, I had wondered how you made things like this...and you did an excellent job explaining the tools and the jobs they do!!! Thank you!!!
ReplyDeletewhat an adorable bench AND cat!! the kitty looks very happy with his bench and pumpkin. Well done!
ReplyDeleteOf course Rosie had to get into the pic! I love the bench. But I think you made up some of those words...
ReplyDeleteWow! That's amazing! You did a great job!
ReplyDeleteOH my! I love, love, love this! You did a fantastic job...a great tutorial and photos. Thanks for entering at the diy club!
ReplyDeleteThanks for this great tutorial. I love your bench!
ReplyDeleteOK. I am inspired to invite you to come link up with us, so our readers can love you too: http://www.finecraftguild.com/diy-tutorial-linky-party-15/
Every Wednesday there will be a new party, so bookmark our home page and you can come back over and over again with great ideas and tutorials, alright!?
Smiles,
Have a happy day!
You two are very talented DIYer's.
ReplyDeleteJoyce M
This turned out fantastic! Wish I had some of these tools, I'd be on a roll!
ReplyDeleteWOW! That is some serious craft work there! You could sell those! It's beautiful and even more wonderful because you made it with your hubby! I'm following you now! =)
ReplyDeleteWonderful bench...isn't it fun to make things yourself!
ReplyDeleteGreat team effort and perfect tutorial. The bench is fantastic!
ReplyDeletethat is absolutely gorgeous! Good luck in the contest
ReplyDeleteThat is awesome. I love that rustic look.
ReplyDeleteWhat a totally awesome bench - and made with love! This looks marvelous. I always like that rustic look.
ReplyDeleteThis is absolutely a wonderful bench! Loved your tutorial (I think I'll just read this one.
ReplyDeleteI love it too!!! You both have done a great work!!!
ReplyDeletegreetings from Chile,
maria cecilia
I love it!! I love to see artist at work!
ReplyDeleteWhat a beautiful bench. Great job!
ReplyDeleteWow! Those are some serious tools! I love how it turned out. It's rustic yet feminine. Great job.
ReplyDeleteOk - your husband rocks! Very cool bench and I love the "not proper" PPE!
ReplyDeleteThanks for planting your creative seeds at Plant a Punkin Seed Party!
Kristi
Punkin Seed Productions
Just amazing. I love love love this bench. What a great post. Thanks so much for joining Finished for Friday!
ReplyDeletevery very nice! I've always wanted to make my own furniture, I like it! Thanks for linking up to Topsy Turvy Tuesday's!
ReplyDeleteI just wanted to stop by and let you know that I linked to this post today from the Home & Garden channel at Craft Gossip. :)
ReplyDeleteYour feature will appear in the main Craft Gossip RSS feed, on the main home page and can be found directly here
http://homeandgarden.craftgossip.com/making-a-log-bench/
If you would like a "featured by" button, you can grab one here!
http://homeandgarden.craftgossip.com/grab-a-craft-gossip-button/
It is a cute bench but you might want to consider using wood that is already fallen down rather than cutting down a dead tree as wildlife use them for food and habitat.
ReplyDeleteMichele, Oregon
Ok, this one is amazing! I've always wanted to work somehow with branches so I'll be rereading your post a few times over. Gorgeous design for this bench! You two make a great team. :)
ReplyDeleteDonna
Oh my is that adorable or what! I just stumbled onto your blog when I was at Funky Interiors. I am originally from Alaska and when I saw the adorable bench in the picture I just had to come and see!!!!!!! Then to find the instructions!!!!!!!! You are so kind............love it! I live on a farm now in Kansas and we have cedar trees..........hmmmmm......I am thinkin......I need one real bad..........honey.......where is the chainsaw.......!?
ReplyDeleteThank you for being so generous and showing us step by step. Merry CHRISTmas to me!
Blessings from the farm,
Linda
Fabulous job. LOVE the final pic with the pumpkins and Halloween kitty! :)
ReplyDeleteThis is awesome! My husband made a bench a couple of years ago...I am going to show him this though, I love it!
ReplyDeleteWhat a fantastic bench! My friend & I painted an old grey chair to red for Christmas decoration. You can hop on my blog www.makemania.com to take a look at similar craft works and feel free to share your idea!
ReplyDeleteWanted you to know I featured you over at The Pumpkin Patch. Come grab a featured button!
ReplyDeleteThis is wonderful! I love it.
ReplyDeleteI'll be featuring this over at Life As Lori. If you would like to stop by and grab my I was featured button please do so.
Wow==you guys did an amazing job. That is soooo awesome.
ReplyDeleteThanks for linking up. We look forward to getting to know you and seeing more and more projects.
Cheri
Great bench! I love this look. And I love the little cat too! Thanks for linking up for Friday Favorites last week!
ReplyDeleteHope you'll stop by again this week. I'm celebrating my blogiversary with a giveaway for a Presto Cool Touch Griddle!
Love all the tools you used and the teamwork it took to build this! Well done! Thanks for linking up the The DIY Project Party!
ReplyDeleteAmy
WOW! It's awesome! Great job! :)
ReplyDeleteRoeshel
Amber Lou, What a fabulous bench! I love the raw wood look. Fantastic tutorial too! Thanks so much for linking up. Hope you have a wonderful week. ~ Stephanie Lynn
ReplyDeleteAmber you are Amazing!!
ReplyDeleteWOW!!!! I Love your Great work with wood Amber!!!
ReplyDelete~~~BEAUTIFUL JOB~~~
Gwen
Such a great project. You guys did a great job. Congrats on making top 10!
ReplyDelete